
Being often asked to demonstrate how to use the pom-pom makers from Clover I thought it might be a good idea to pop up a post about them. Warning though, the post is photo heavy and I’ve tried to cover everything I’ve been asked about them, so apologies beforehand for waffling on a bit.
These clever little gadgets are available in the following sizes with all but the extra large consisting of two makers.
X Small – 20mm & 25mm
Small – 35mm & 45mm
Large – 65mm & 85mm
X Large – 115mm
Clover have also developed heart-shaped pompom makers which I will demonstrate on another post later.
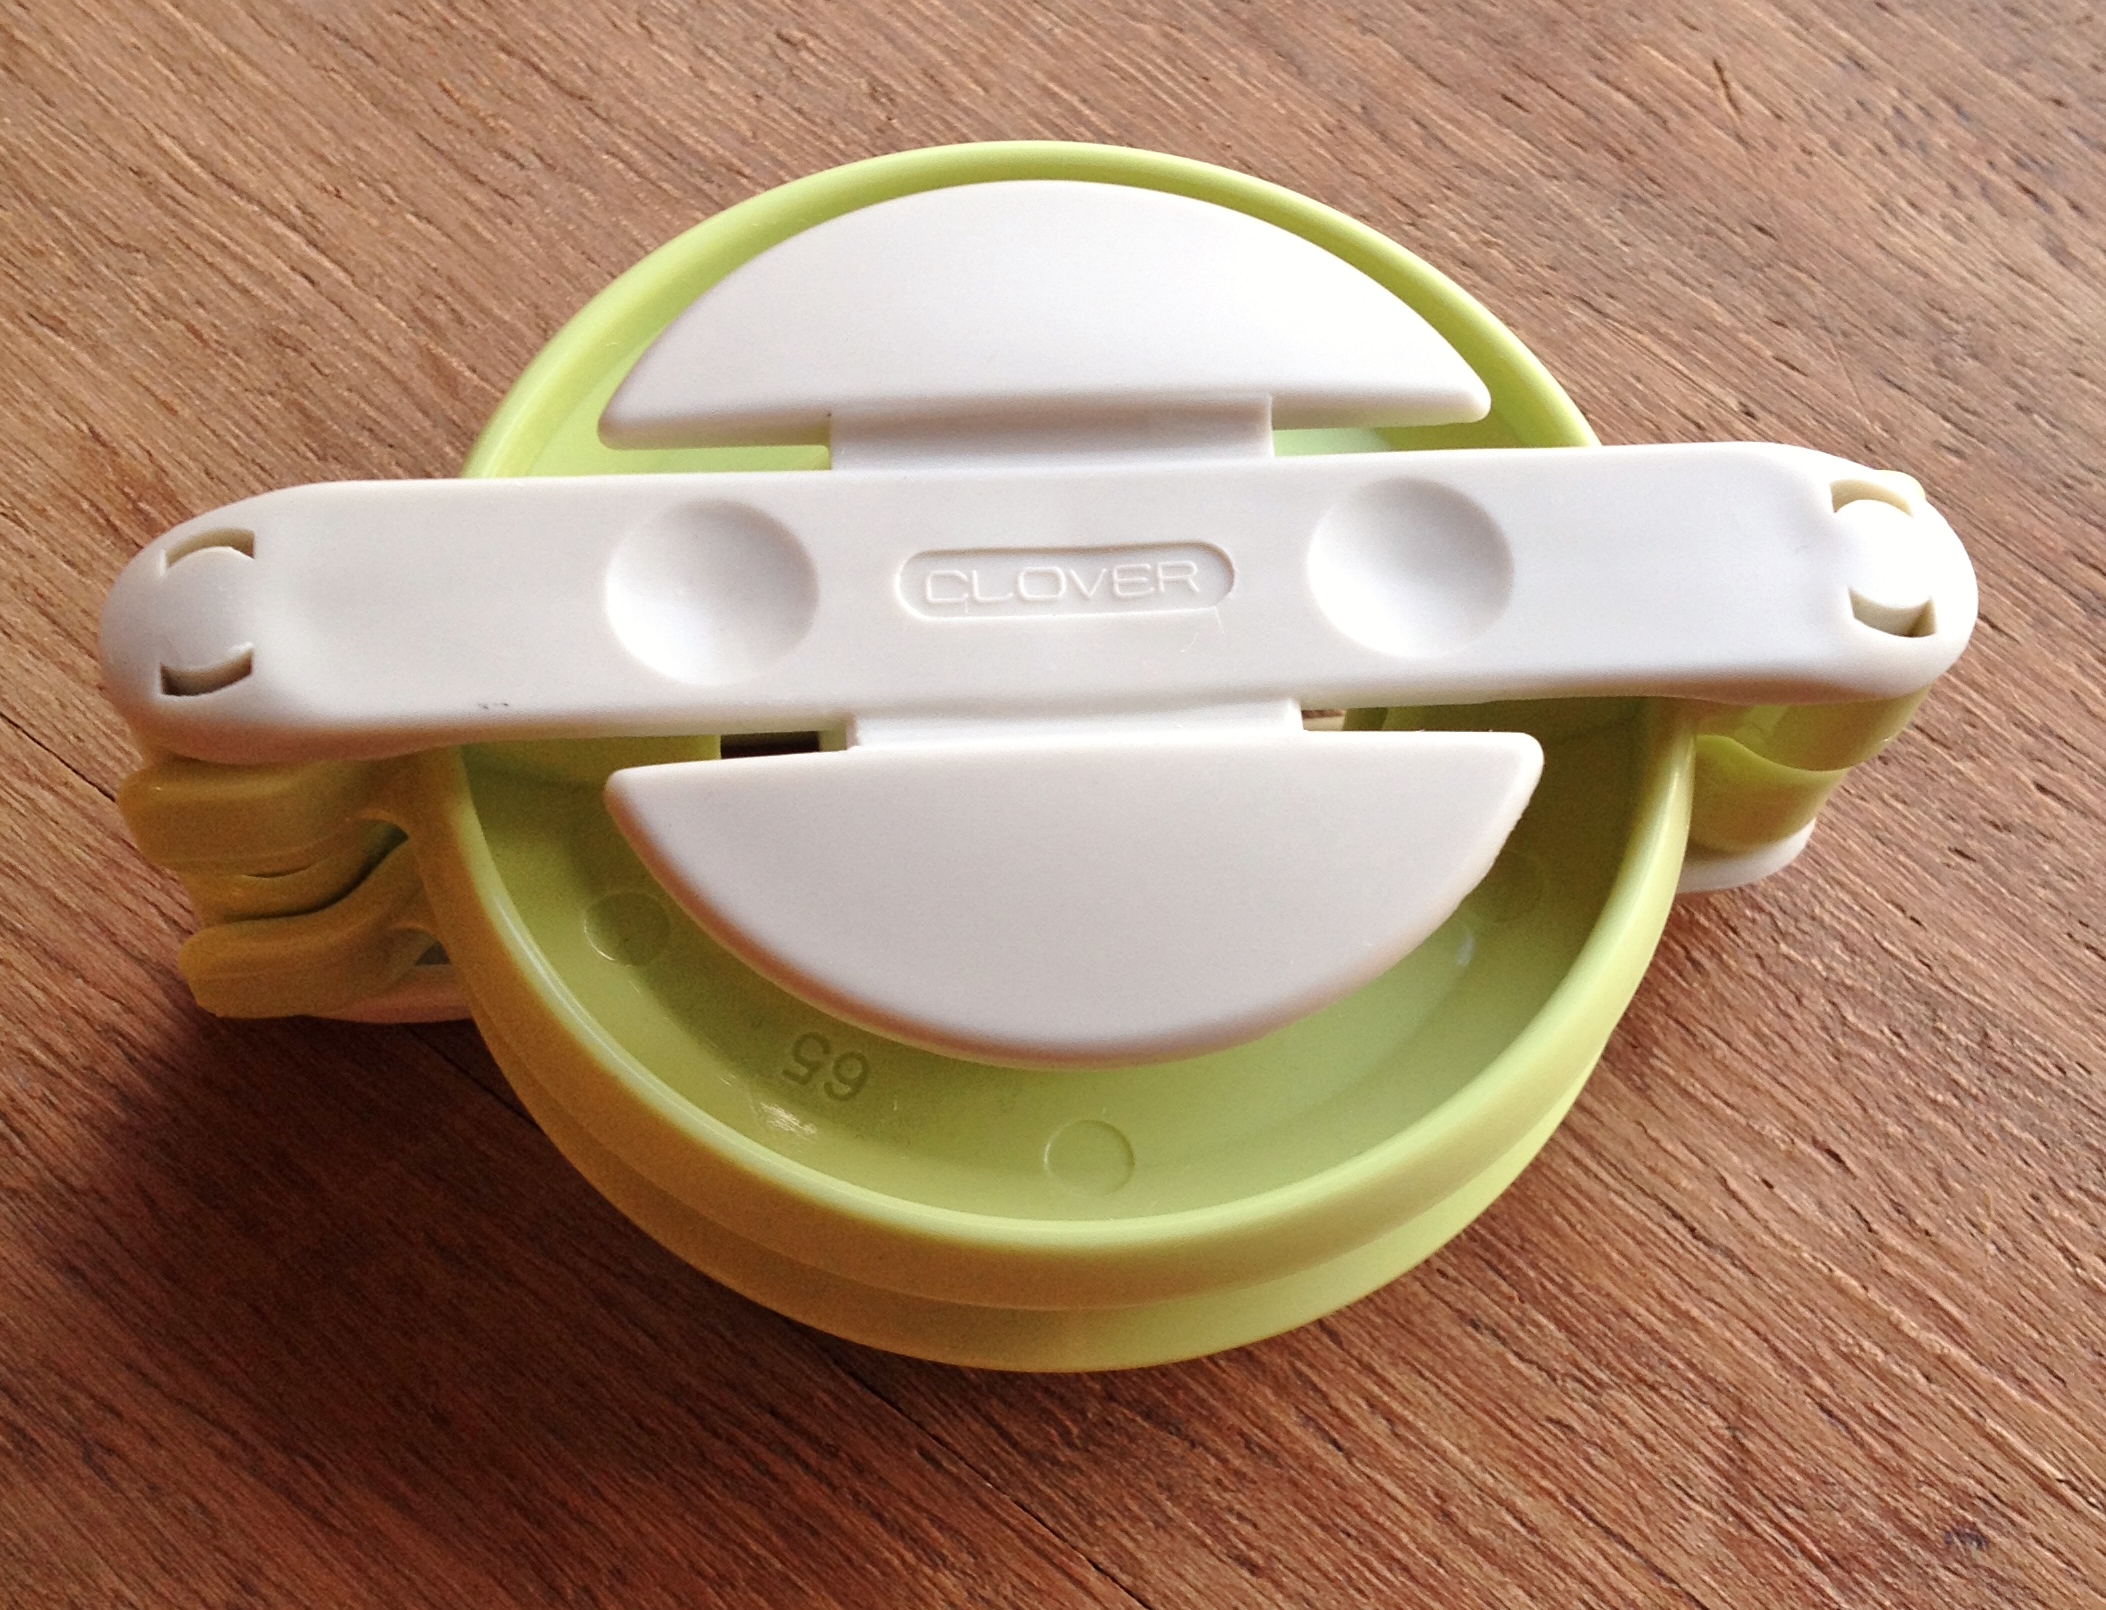
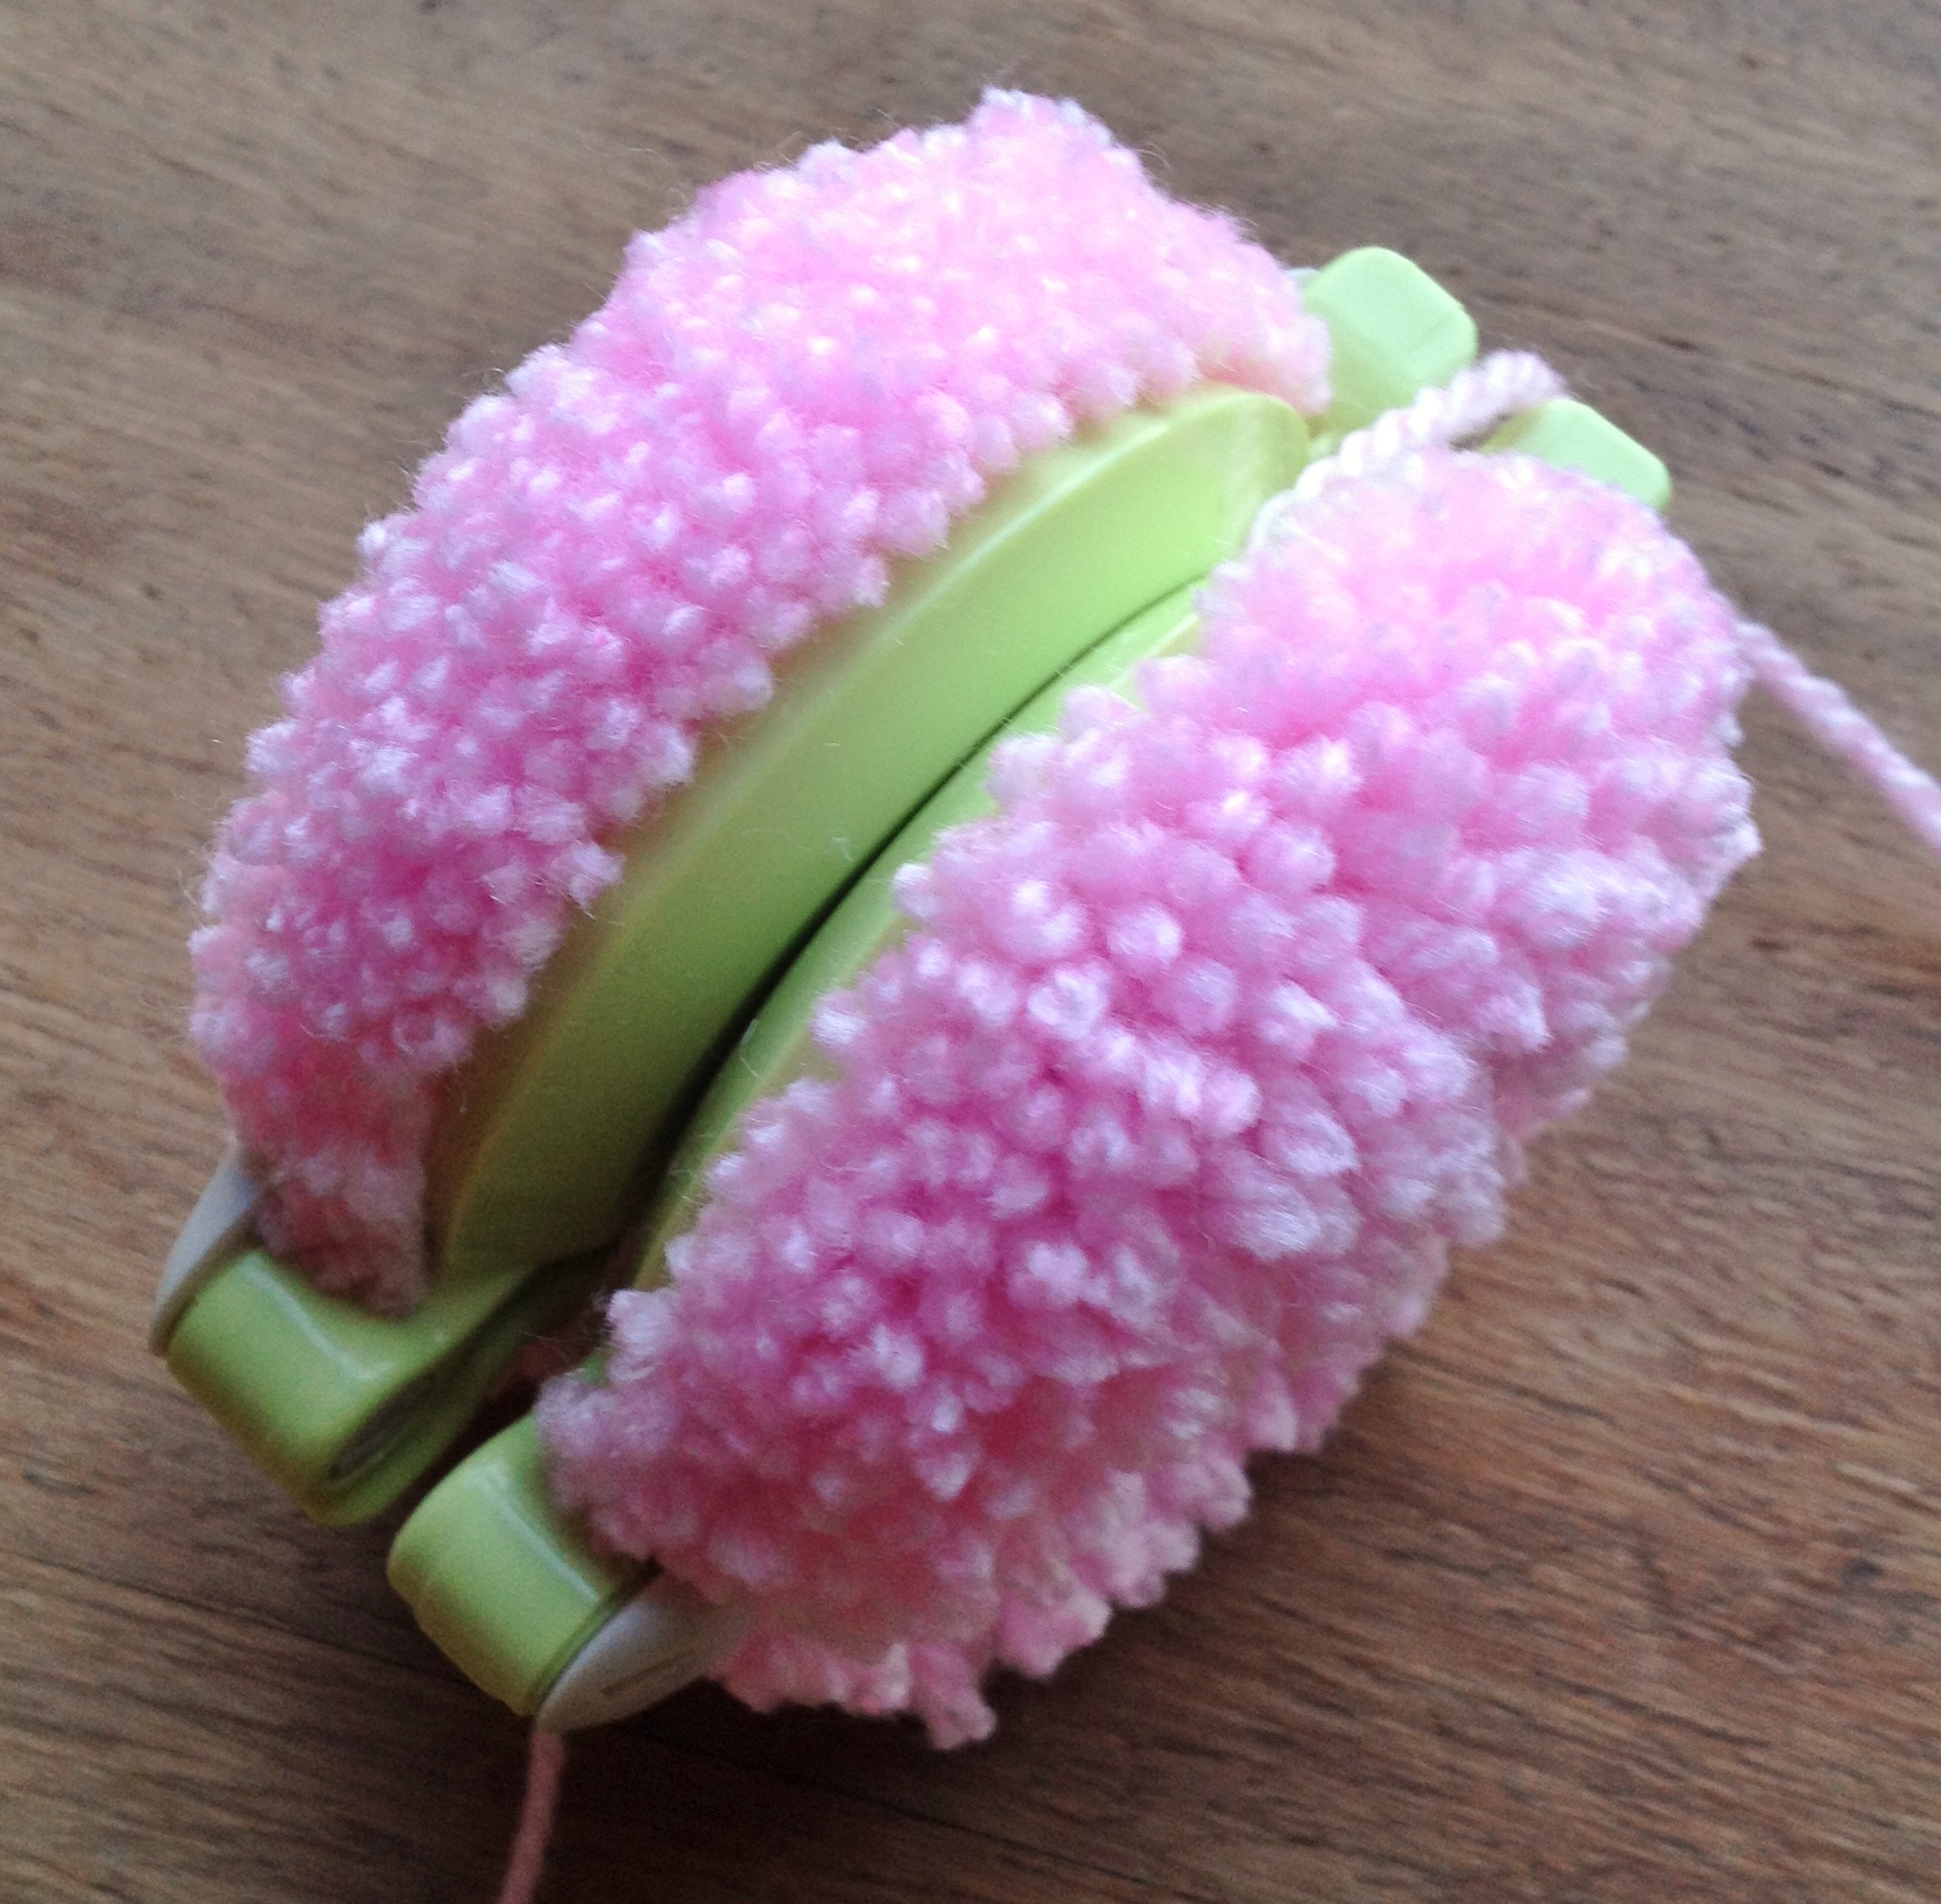
1st Step Open both sides of the maker.
You will notice that it is made up of two separate pieces that slot into each other, this is to allow you to take your completed pompom out.

2nd Step Begin winding your yarn around one side of the maker
I tend to start from the centre of the semi-circle, holding my yarn against the curve and wrapping my first few turns over the end to secure it. I’ve had the most success with my pompoms by keeping the yarn fairly taut when covering the arcs.
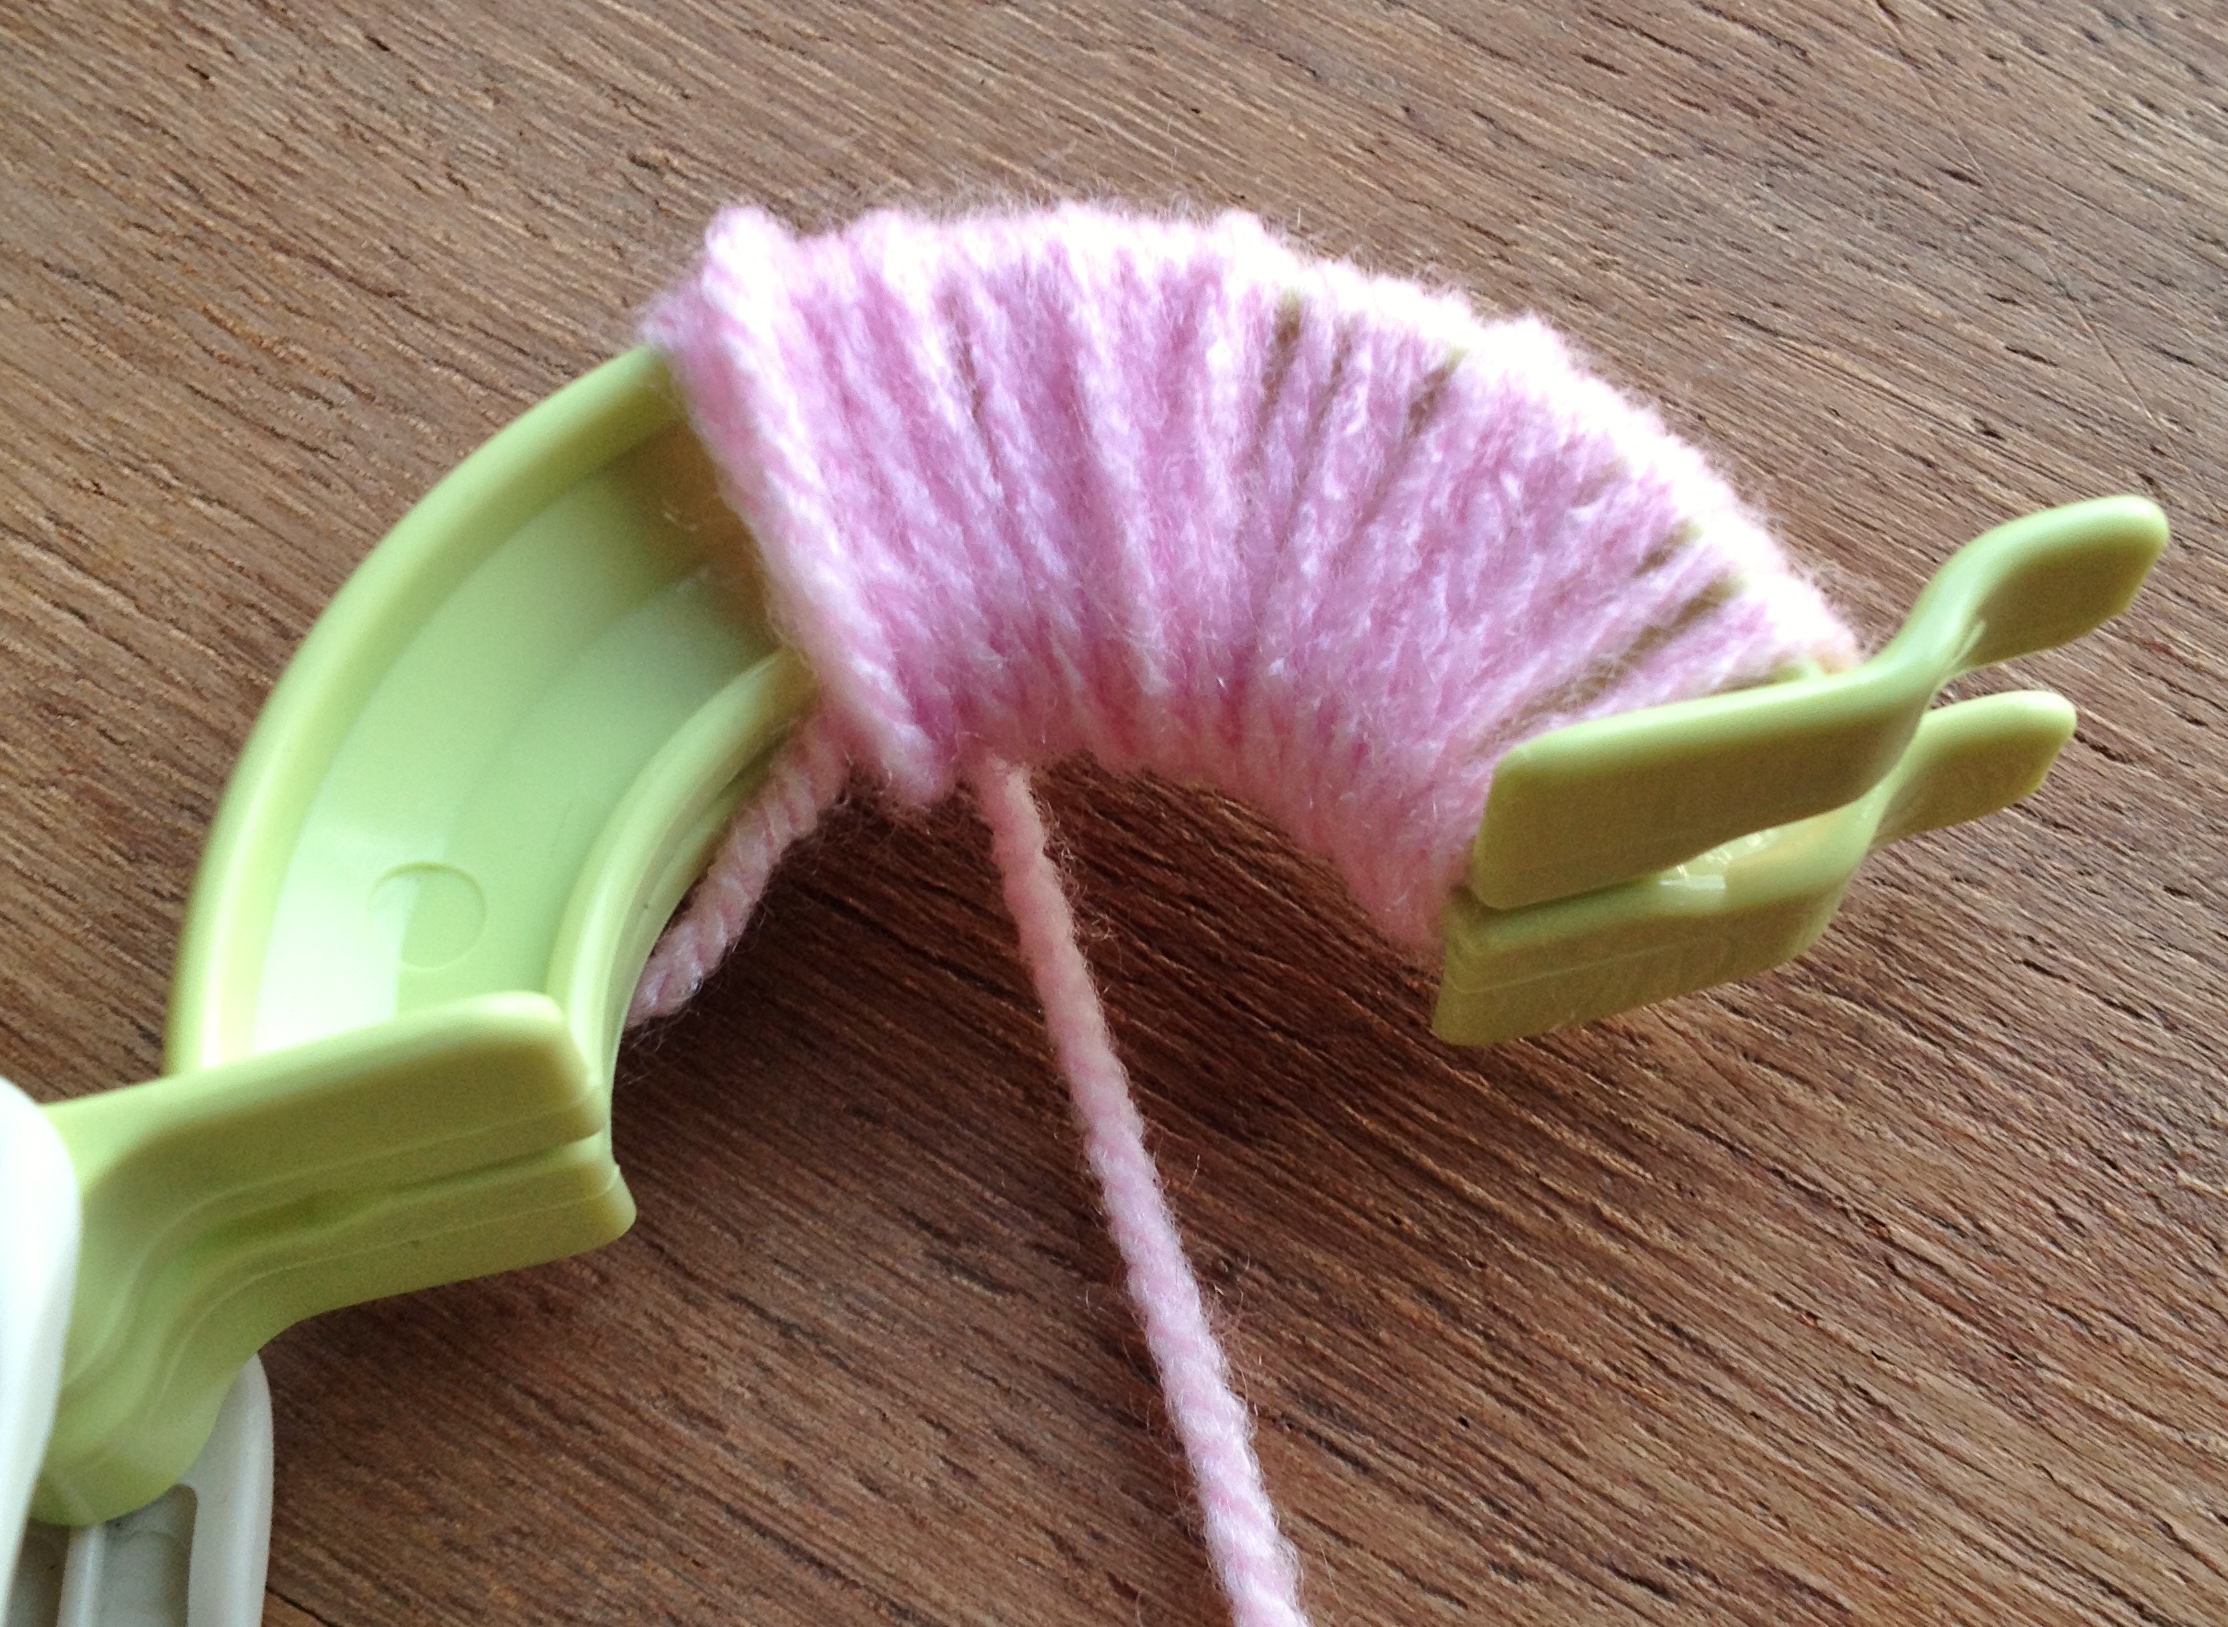
Continue to wind the yarn around one side of the maker until it is almost full. Be careful to try and keep it to ensure a more rounded pompom.
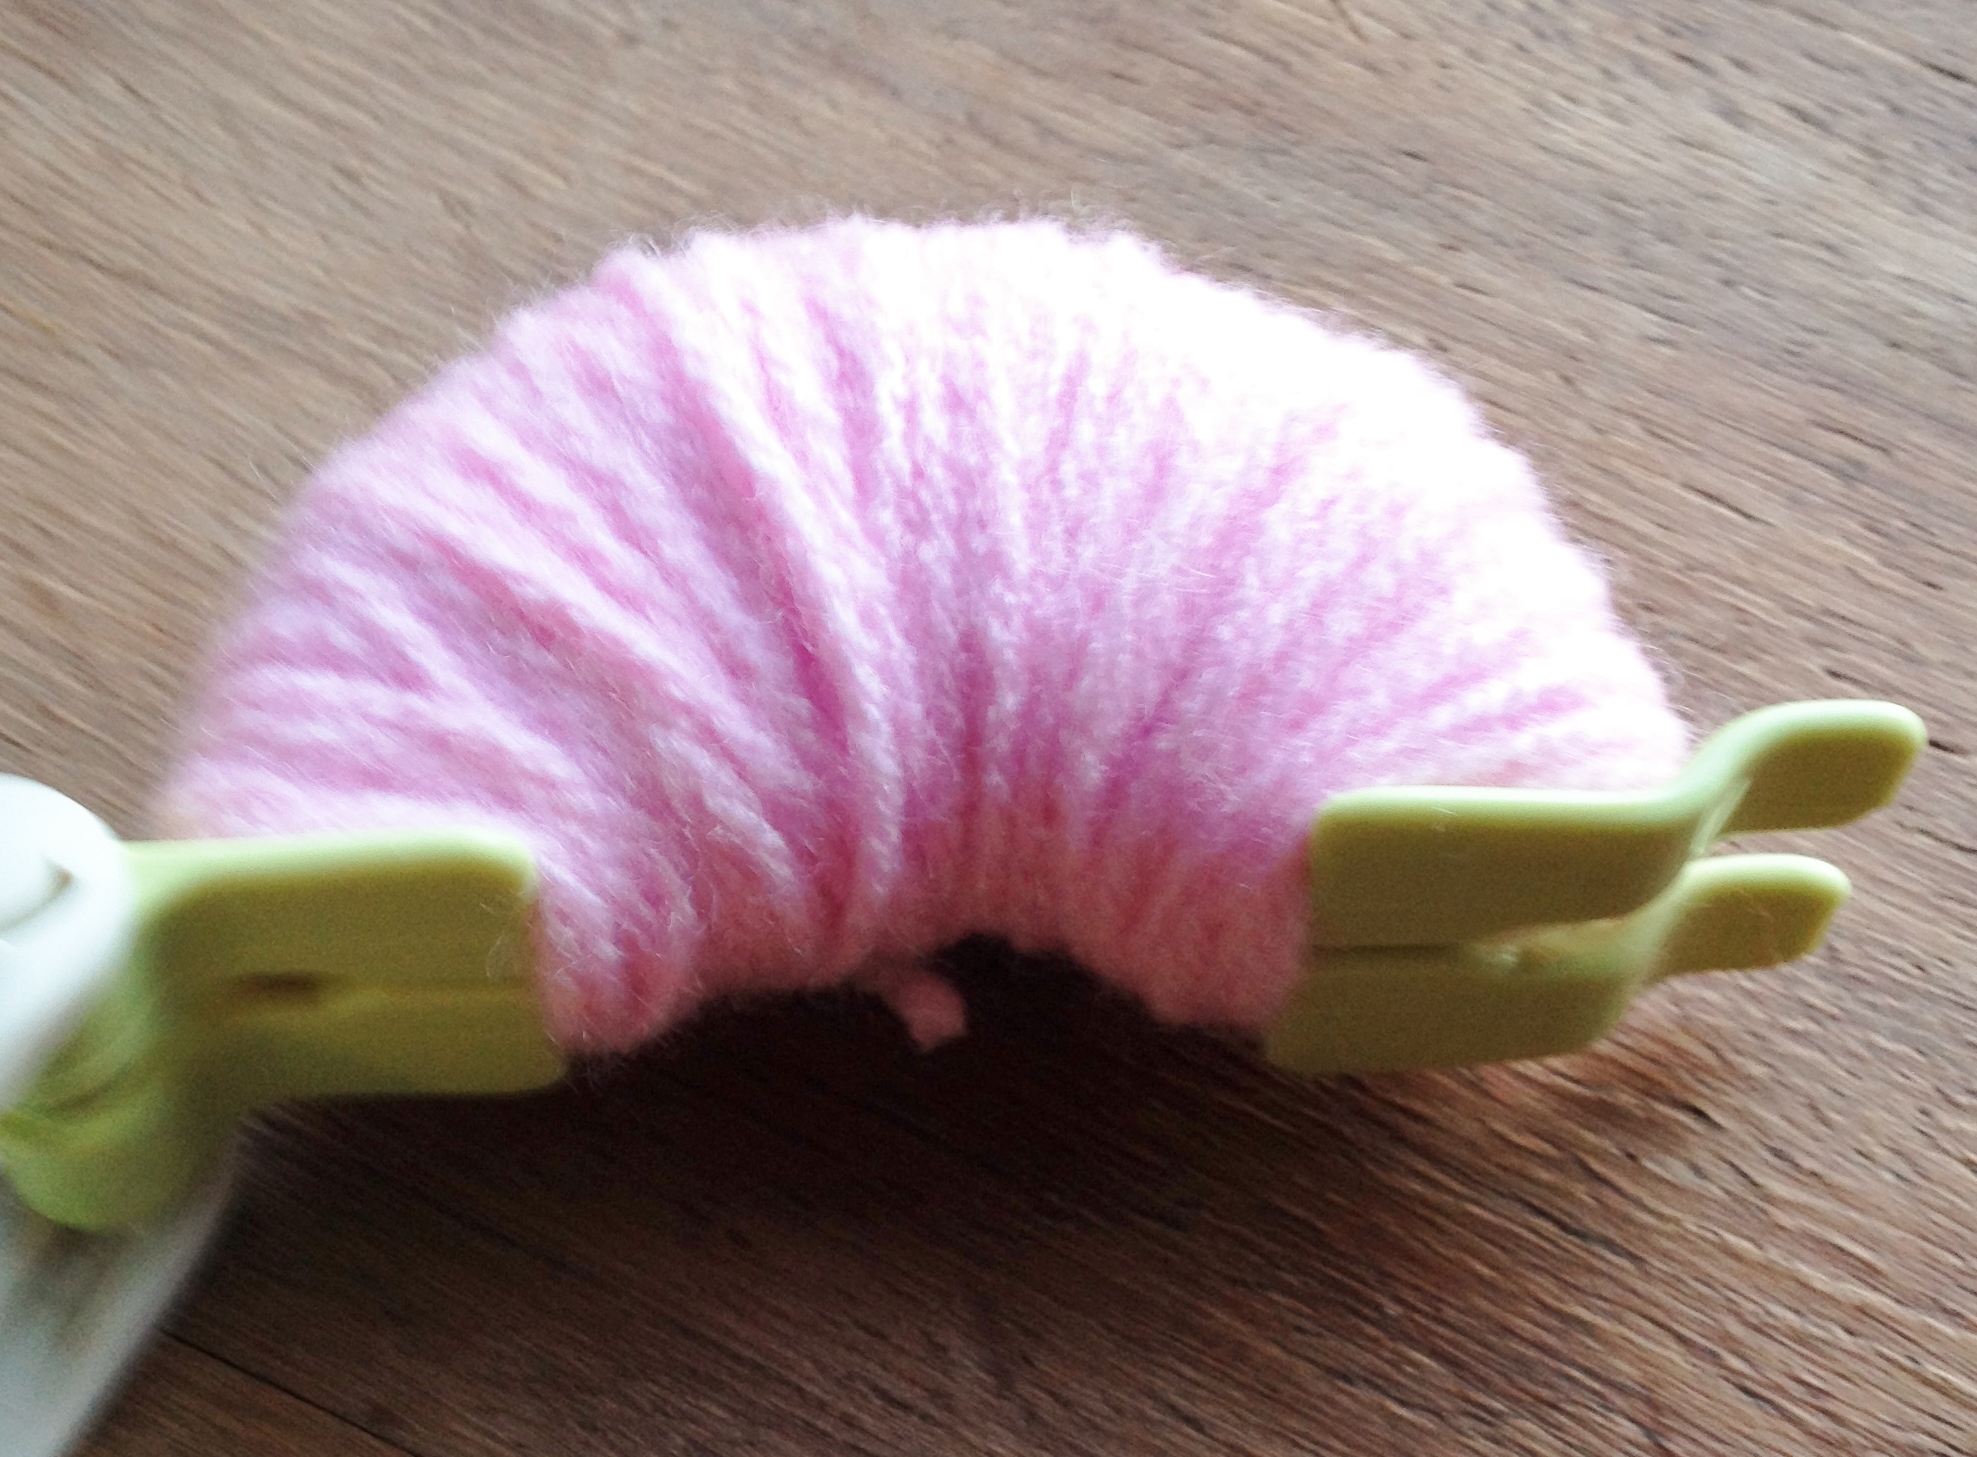
4th Step Break your yarn off, close your first side in and complete the second side of the pompom.

5th Step Cut a piece of your yarn long enough to tie round your pompom. Remember to make it long enough as you can use this to sew your pompom on. Then, using sharp scissors and following the groove between either side of the maker, cut around the pompom, making sure you snip each thread completely.
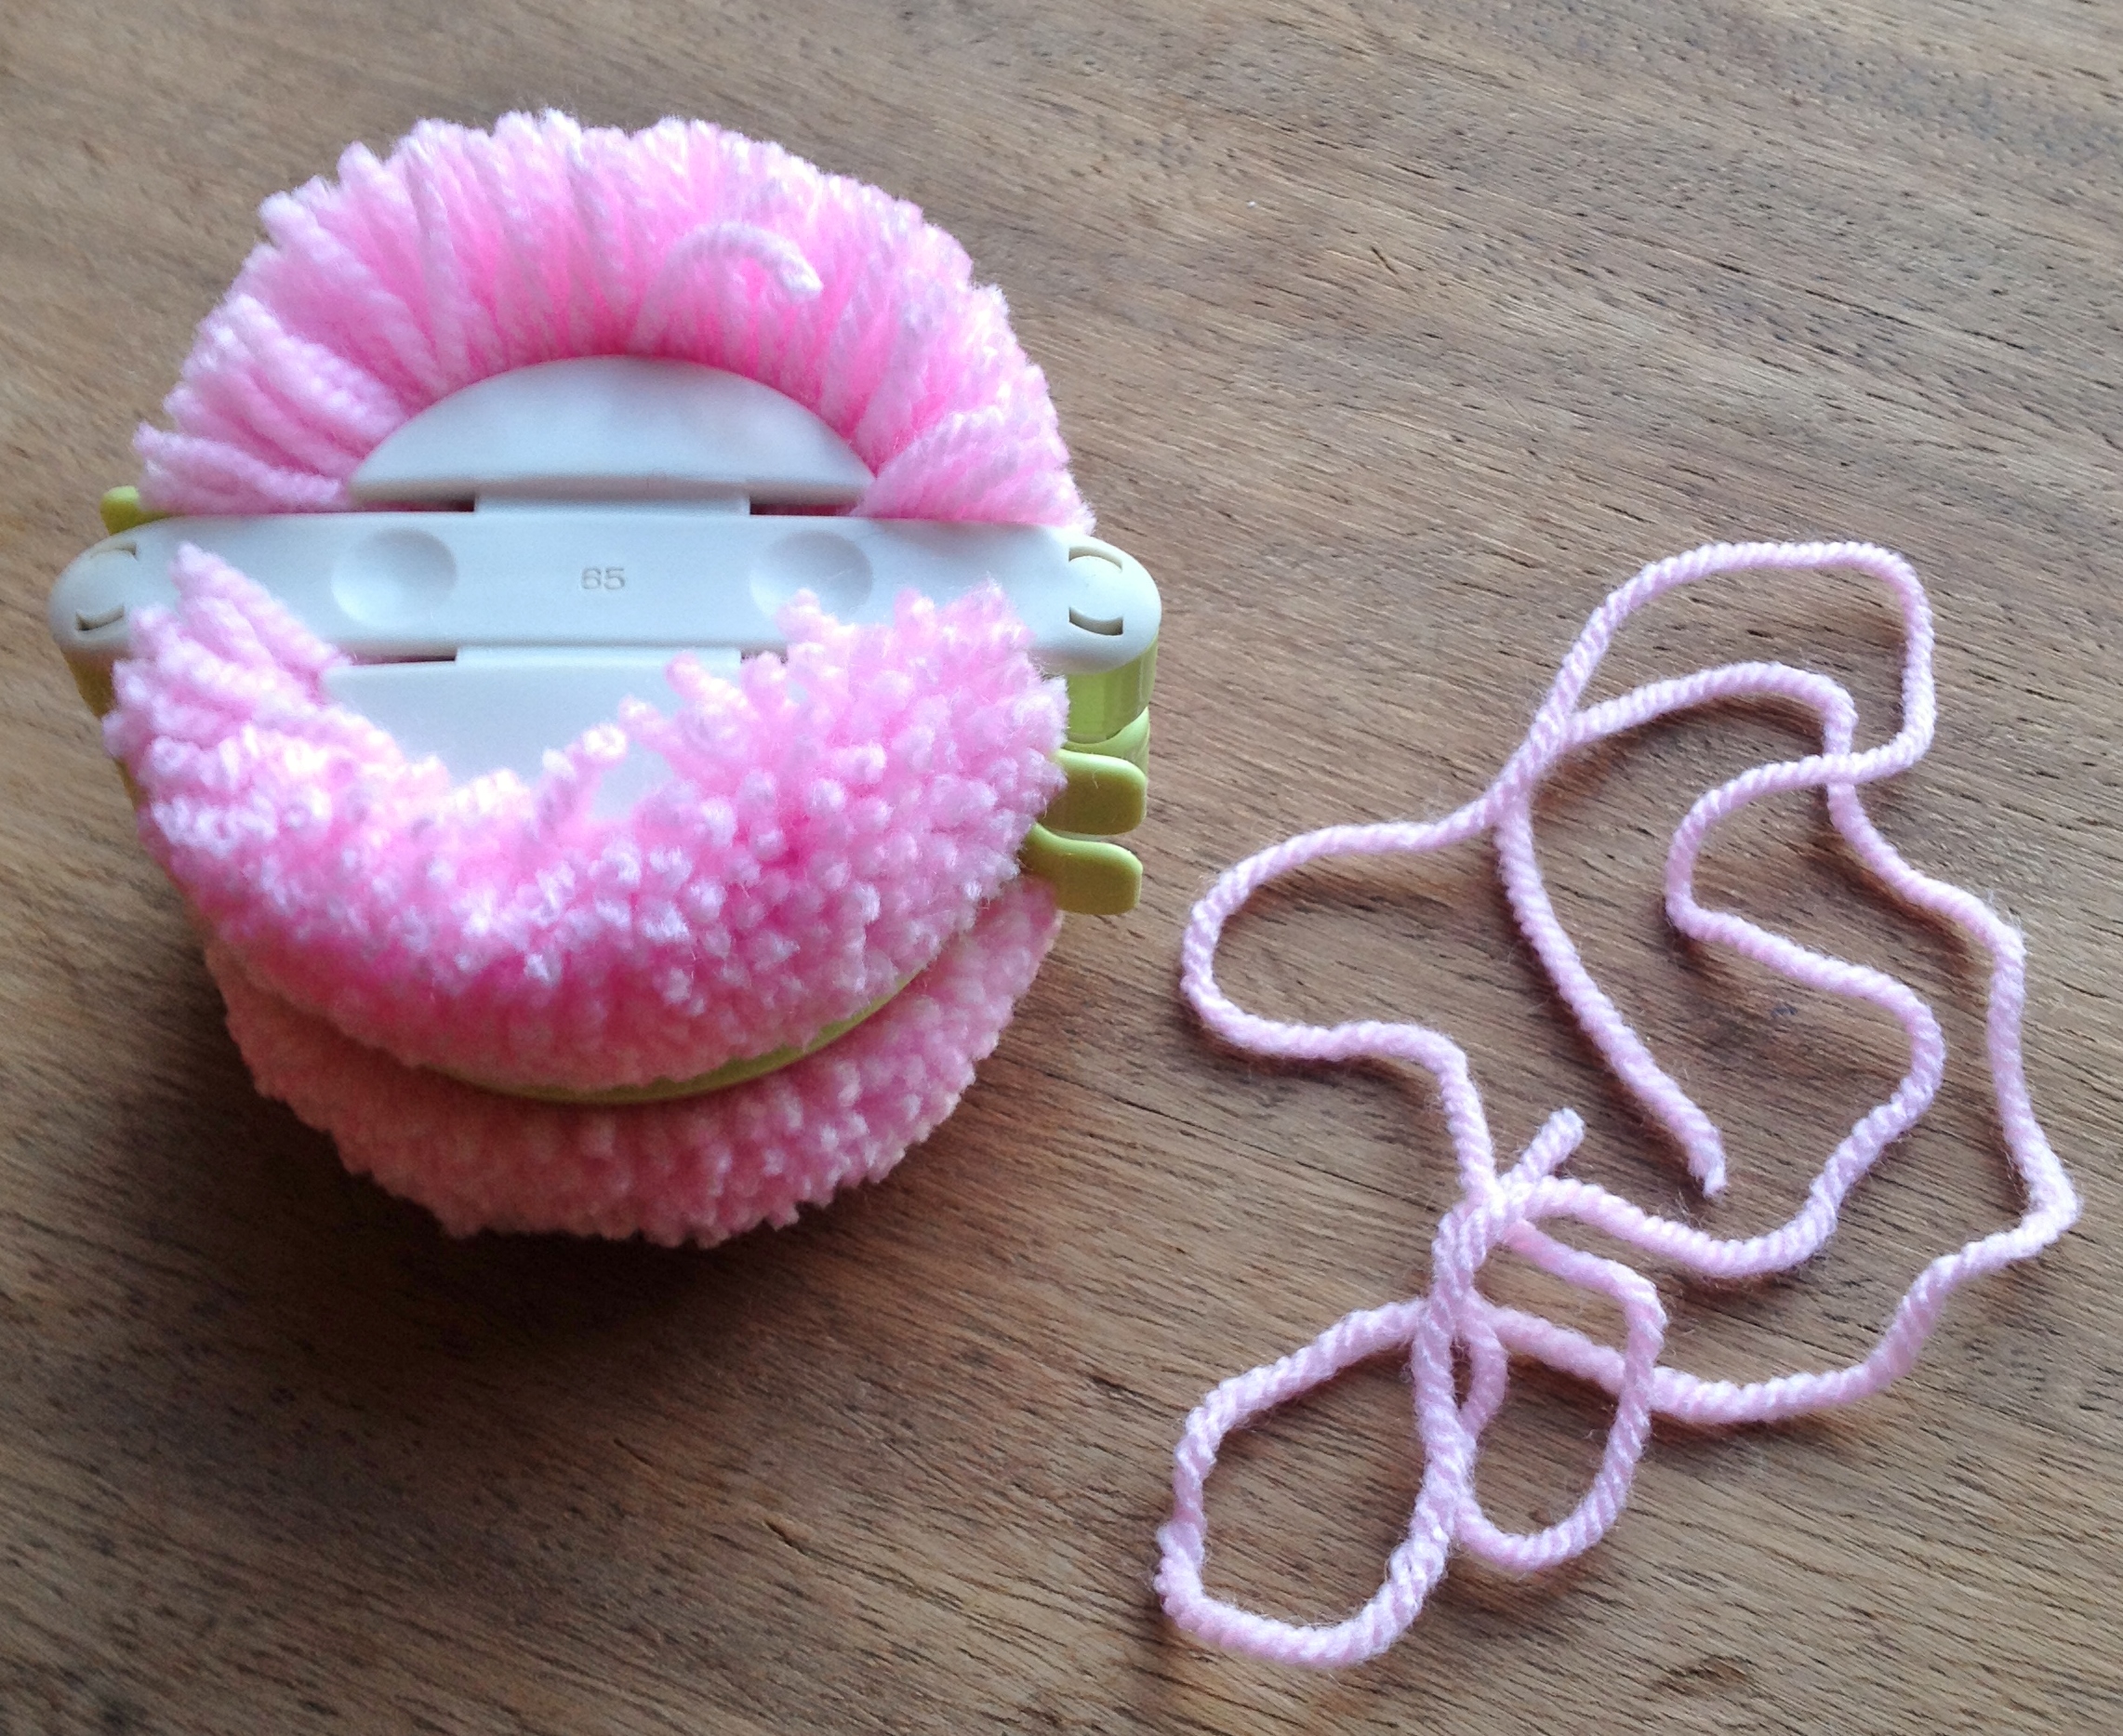
6th Step Wrap your piece of yarn between either side of the maker and tie in a knot tightly being careful not to break your yarn. (some wool may not be strong enough to do this, so you can always use a scrap from another kind of yarn)
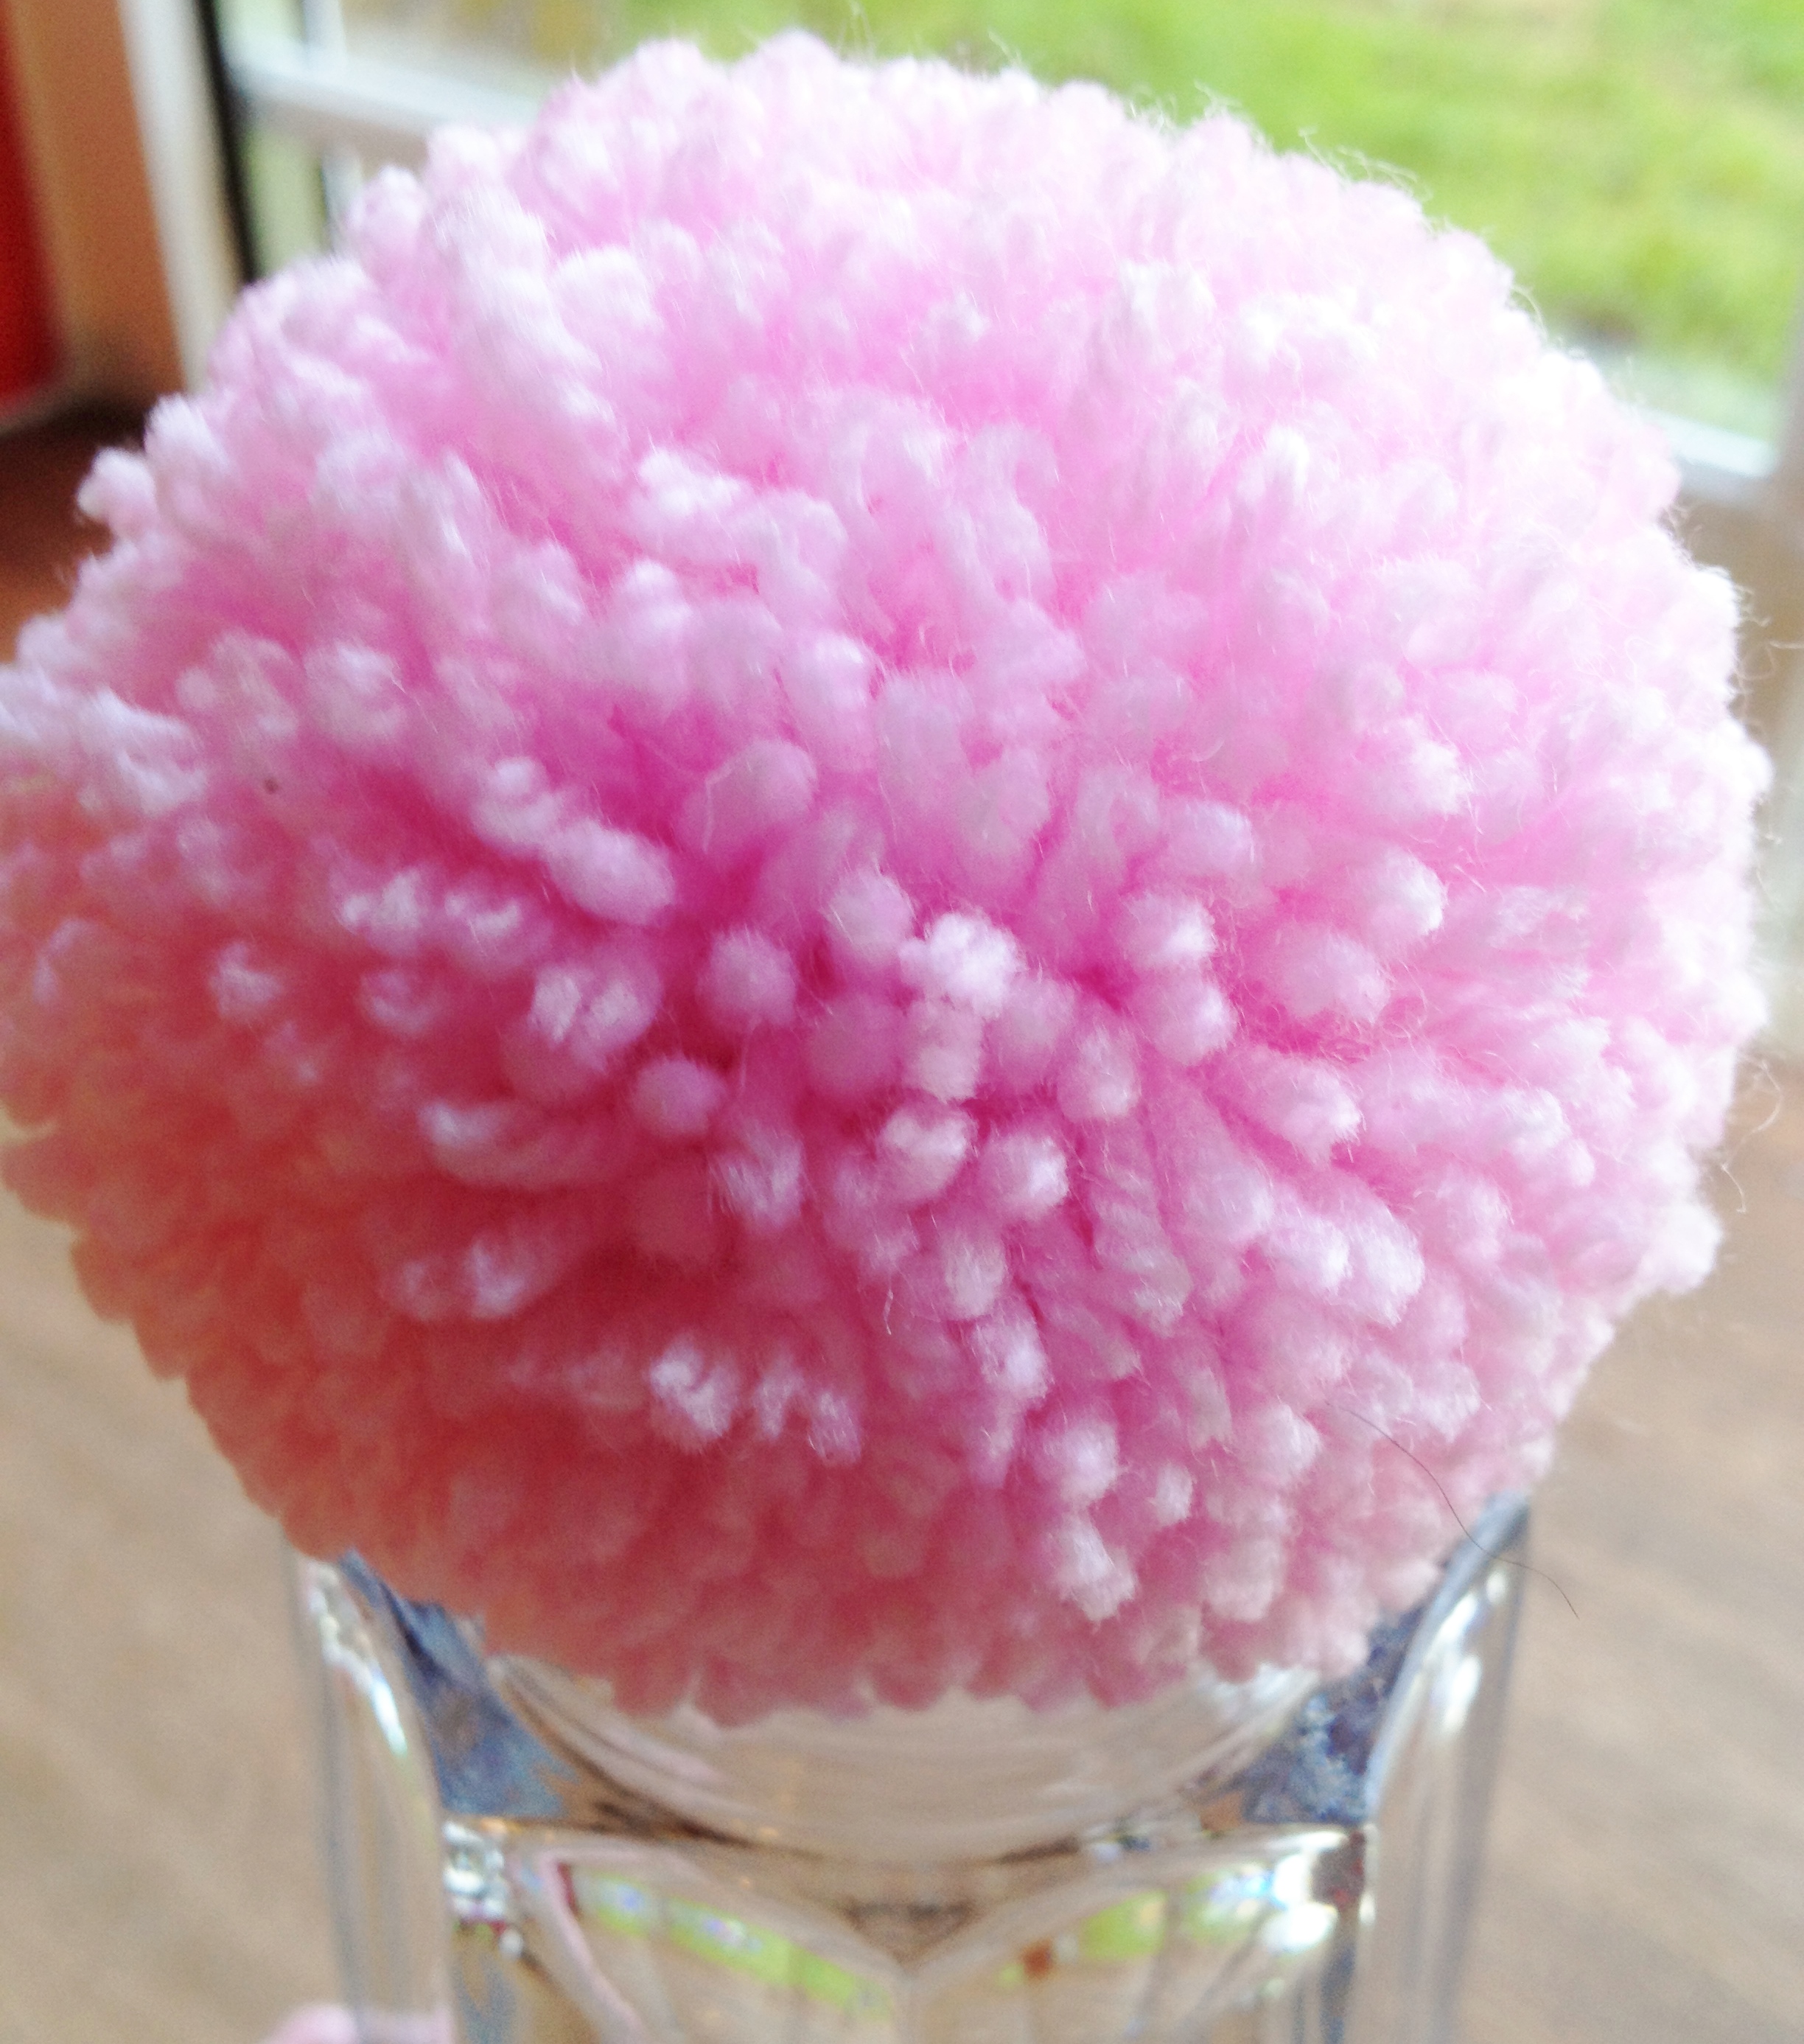
7th Step Open both sides of the pompom maker and separate it to reveal your squidgy pompom. Roll it around in your hands a few times and give it a little trim – don’t cut your ties if you need to sew it on to anything.

Voilá! Pompom magic.
Happy Pompoming!

Wow, I did not know there was a such a thing as a pom pom maker! Now i really REALLY want one (or several)
They’re great and making pompoms with them makes it fun instead of being so tedious with the cardboard.
Can you put timetable up on line as we’ll please
Hi Claire, I’m sure by now you’ve probably spotted that I’m closing the shop, but I hope to still be able to teach in and around the county once everything is sorted and I’ve had a little time to adjust.
I shall pop any future plans up on here, but if you want to know anything specific please fell free to email me on knitmidleton@yahoo.co.uk
xxx
Hi these are great can you recommend where to buy them in Ireland Thank you 🙂
Hi Geraldine, I’m pretty sure This is Knit in Dublin sell them. Hope this helps x